Colorful Landscapes:
Process:
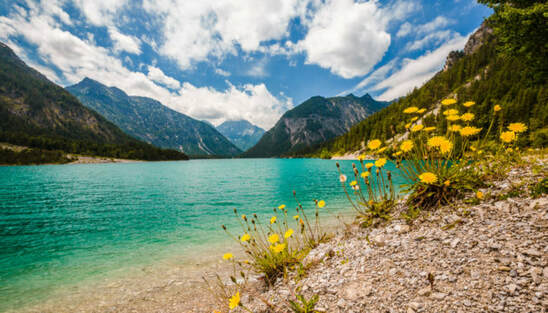
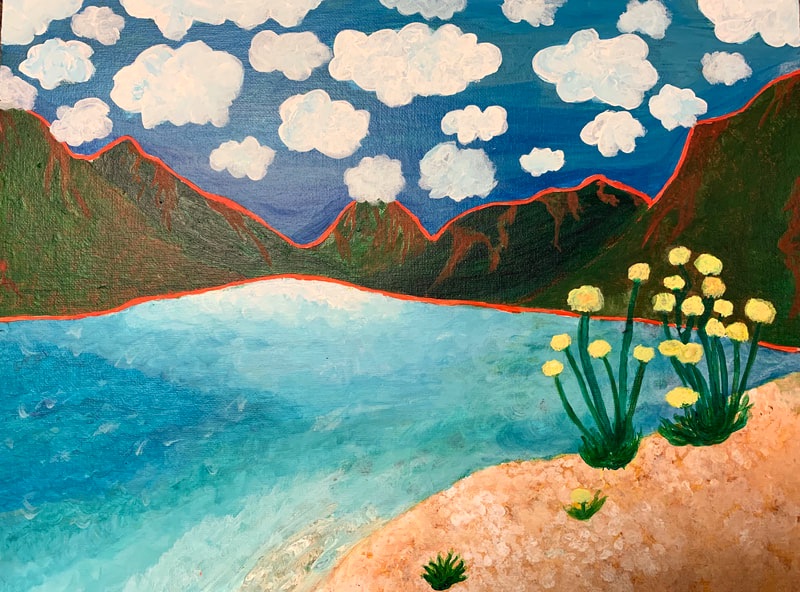
To start this painting I found a refrence picture and then I started to sketch it out. After that I looked at the colors in the picture and chose the opposites of those colors to do the first part of the painting. After I did the underpainting I went over and did the actual painting.
Size: 12x16
Constraints:
acrylic paint
paint brush
canvas
refrence picture
|
|
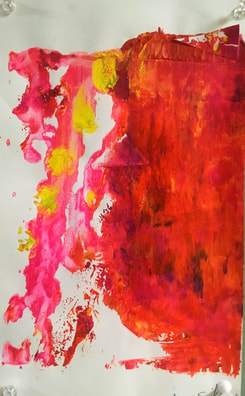
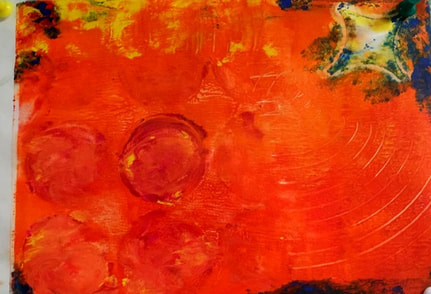
Mono Prints:
Size:
4x5
Constraints:
printing ink
print roller
plexi glass
paper
brayer
4x5
Constraints:
printing ink
print roller
plexi glass
paper
brayer
|
|
Acrylic Transfer:
Process:
I started by picking a black and white picture and printed it out, then I painted layers of the acrylic gel medium on the paper until it was thick enough. I then soaked it in water and peeled of the paper, the picture had transfered onto the acrylic gel and was see through in some parts. After that I started painting a background and eventually put on my acrylic transfer and then kept painting over it, so that the edges were blended. This is what I turned out with.
I started by picking a black and white picture and printed it out, then I painted layers of the acrylic gel medium on the paper until it was thick enough. I then soaked it in water and peeled of the paper, the picture had transfered onto the acrylic gel and was see through in some parts. After that I started painting a background and eventually put on my acrylic transfer and then kept painting over it, so that the edges were blended. This is what I turned out with.
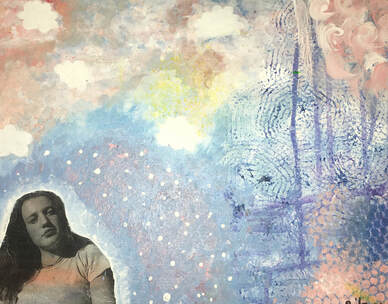
Size: 12x16
Constraints:
acrylic gel medium
acrylic paint
12x16 canvas
paintbrushes
black and white picture
Constraints:
acrylic gel medium
acrylic paint
12x16 canvas
paintbrushes
black and white picture
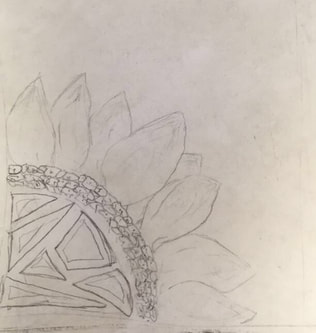
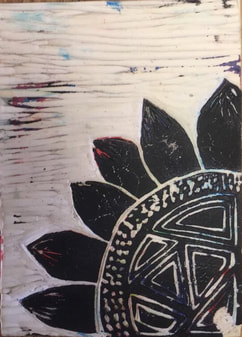
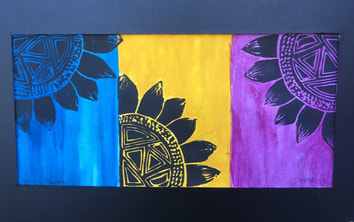
Block Printing:
Process:
To begin this art peice I started by drawing a rough design and imagining how it would look carved out. After I made sure I liked my design I got a piece of eraser like material to carve my flower in it. I first sketched it out on the block and then got carving tools and started carving. When we got the printing ink we started putting it on the blocks with paint rollers. I made a bunch of cool colors and printed with them. After you roll the paint onto the design you stamp it onto paper, turn it around, and then rub it with a spoon to make sure it stamped all the way. Then I decided to do my final print. I first painted the background with watercolor, let it dry, and then printed in black. That was my final product, I am very proud and happy with it.
To begin this art peice I started by drawing a rough design and imagining how it would look carved out. After I made sure I liked my design I got a piece of eraser like material to carve my flower in it. I first sketched it out on the block and then got carving tools and started carving. When we got the printing ink we started putting it on the blocks with paint rollers. I made a bunch of cool colors and printed with them. After you roll the paint onto the design you stamp it onto paper, turn it around, and then rub it with a spoon to make sure it stamped all the way. Then I decided to do my final print. I first painted the background with watercolor, let it dry, and then printed in black. That was my final product, I am very proud and happy with it.
1.
|
2.
|
3.
|
